
Documentation Index
Fetch the complete documentation index at: https://pigeonholeapp.co.uk/docs/llms.txt
Use this file to discover all available pages before exploring further.
Creating Custom Forms
Accessing the Forms Section
- Navigate to Settings -> Forms from the the top right dropdown under your nursery
- This page displays all existing forms and their details
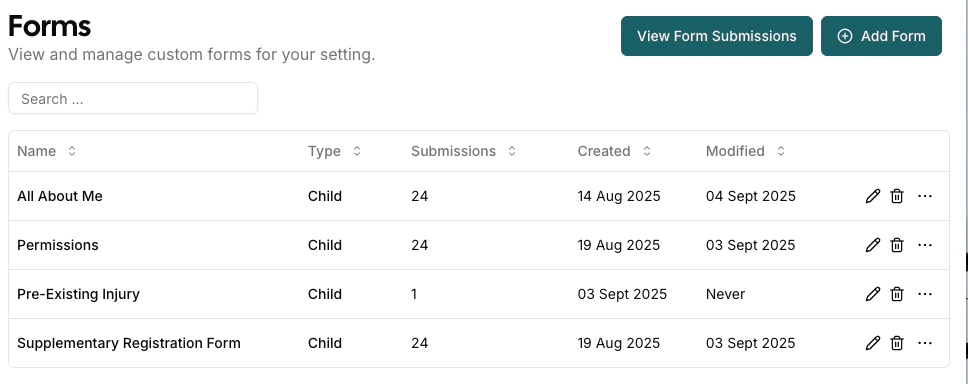
Creating a New Form
- Click the “Add Form” button in the top-right corner
- You’ll be taken to the form builder interface
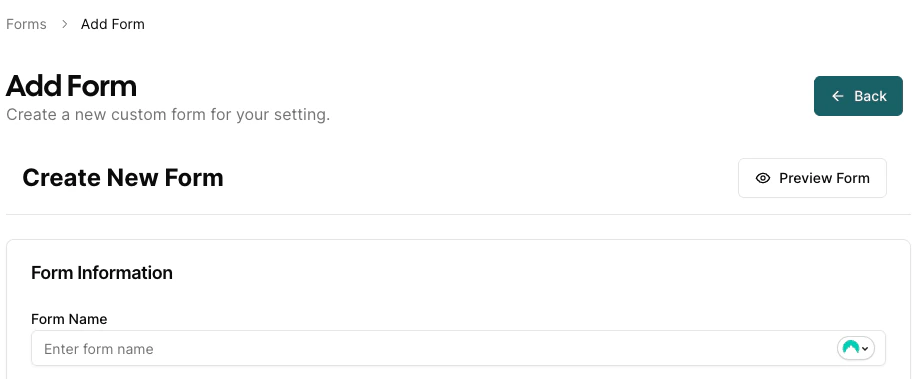
Using the Form Builder
The form builder is divided into two main sections: the Form Builder (left side) and Live Preview (right side).Form Information Section
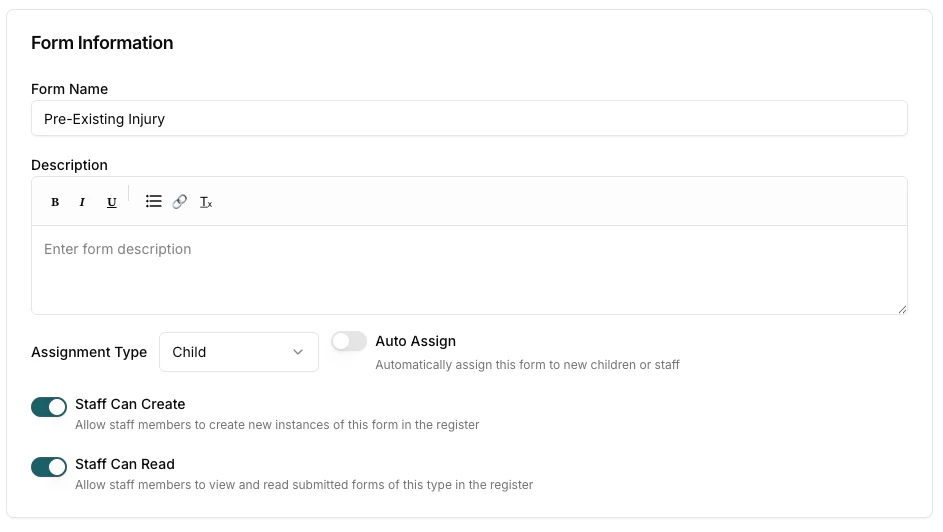
- Form Name: Enter a descriptive name for your form (required)
- Description: Add an optional description explaining the form’s purpose
- Auto Assign: Toggle to automatically assign this form to new staff members or children
- Allow Public Access: Make this form publicly accessible via a shareable URL (see Public Forms below)
- Staff Can Create: Allow staff to create this form through the register
- Staff Can Read: Allow staff to read these form submissions for children
Building Form Sections
Forms are organized into sections, which contain fields. Each form starts with one section by default.Adding Sections
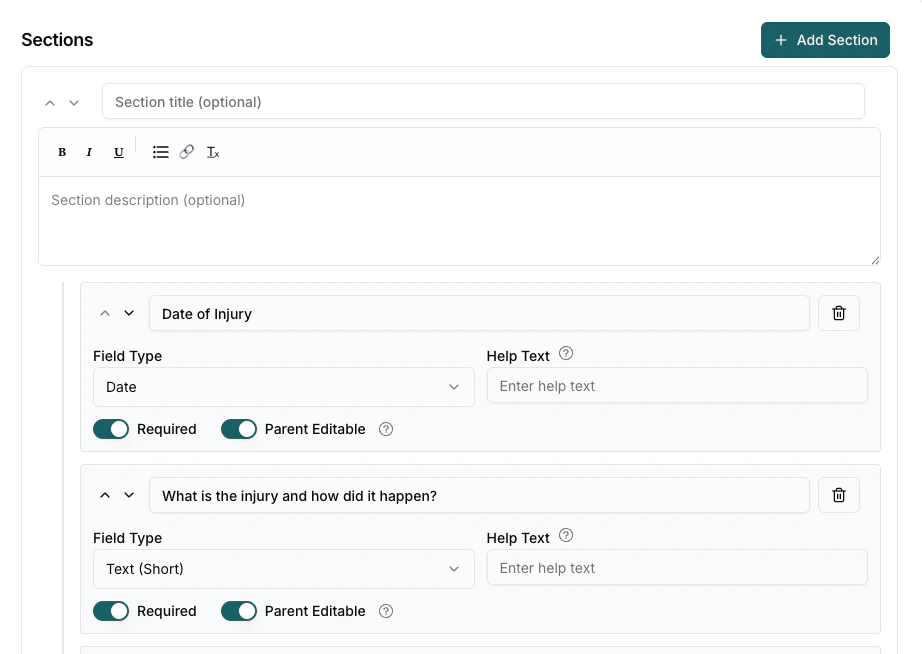
- Click “Add Section” to create a new section
- Enter an optional Section Title (e.g., “Child Information”, “Medical Details”)
- Add an optional Section Description for additional context
Section Management
- Reorder: Use the up/down arrows to move sections up or down
- Delete Sections: Click the trash icon (you can’t delete if only one section exists)
Adding Form Fields
Within each section, you can add various types of fields:Field Types Available
| Field Type | Description | Use Case |
|---|---|---|
| Text (Short) | Single line text input | Names, addresses, phone numbers |
| Text (Multi-line) | Multi-line textarea | Comments, detailed descriptions |
| Date | Date picker | Birth dates, appointment dates |
| Time | Time selector | Appointment times, pickup times |
| Yes/No | Toggle switch | Permission questions, yes/no responses |
| Dropdown | Single selection from options | Gender, preferred contact method |
| Multi-Select | Multiple checkbox selections | Allergies, interests, activities |
| Signature | Digital signature capture | Consent, agreements |
| Body Diagram | Body area capture | Accident forms |
Adding Fields
- Click “Add Field” within a section
- Configure the field properties:
- Field Name: The label users will see (required)
- Field Type: Select from the dropdown menu
- Required: Toggle to make the field mandatory
- Placeholder Text: Hint text for text fields. This appears in the text box before a user starts typing.
- Parent Editable: Determines if a parent can edit the field, or needs a staff member to edit it (e.g. a staff signature)
- Help Text: Additional guidance for users that appears underneath the form
Field Management
- Reorder: Use the up/down arrows to move fields up or down
- Delete Fields: Click the trash icon to remove unwanted fields
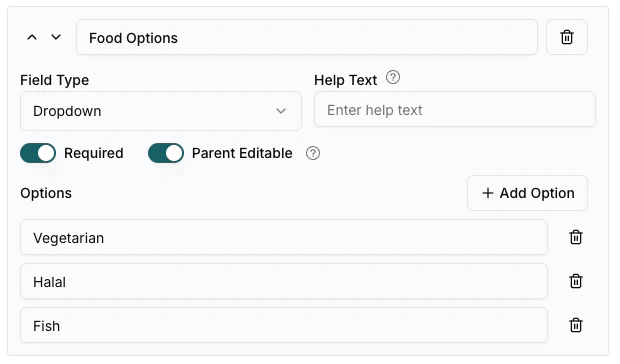
- Field Options: For dropdown and multi-select fields, add/remove/reorder options
Dropdown and Multi-Select Options
For dropdown and multi-select fields:- Click “Add Option” to create new choices
- Enter the option text
- Delete unwanted options with the trash icon
- Minimum 2 options are required
Form Preview
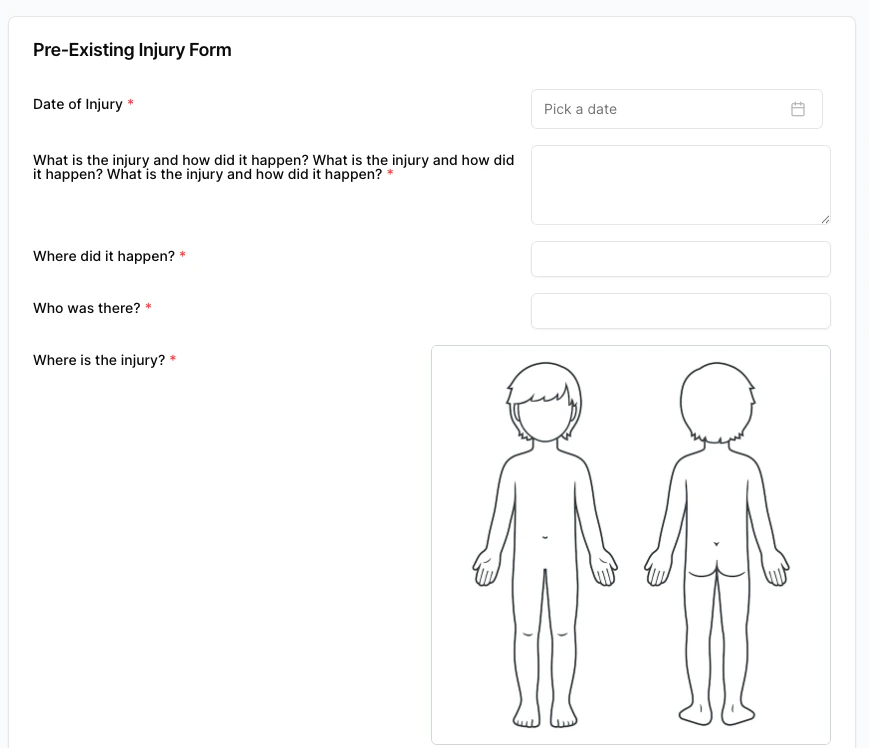
The Live Preview button on the right shows how your form will appear to parents/guardians.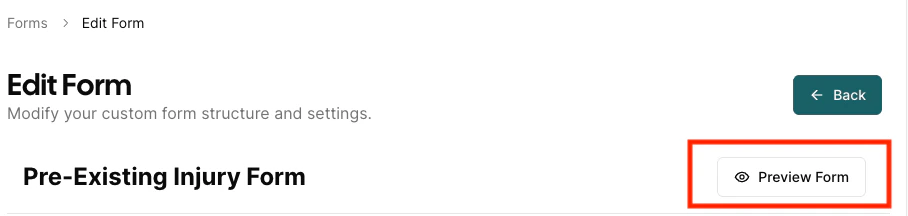
Saving Your Form
- Click “Save Form” when you’re satisfied with your design
- You’ll receive a success confirmation
- The form will be available for assignment to children or staff
Public Forms
Public forms allow anyone with the link to submit a form without needing an account or being registered in Pigeonhole. This is useful for enquiry forms, feedback forms, or any scenario where you want to collect information from the general public.Enabling Public Access
- In the form builder, toggle “Allow Public Access” on
- Save the form
- A globe icon will appear next to the form name in the forms list, indicating it is publicly accessible
Sharing a Public Form
- Go to Settings -> Forms
- Find the form with the globe icon
- Click the More Actions (…) menu -> “Copy URL”
- Share the copied URL via email, your website, social media, or any other channel
https://pigeonholeapp.co.uk/forms/little-stars-nursery/{siteId}/{formId}
How Public Forms Work
- Anyone with the URL can access and submit the form — no login required
- Submitters must provide their name and email address
- reCAPTCHA is used to protect against spam and bot submissions
- Each submission creates a new form entry visible on the Form Submissions page
- The same person can submit the form multiple times
- Public form submissions appear in the submissions list with the submitter’s name and email displayed
Public forms do not need to be individually assigned — the URL is the same for everyone. If you need to send a form to a specific person, use the form assignment feature instead.